|
The funny thing about aging is that you don't realize it's happening until it's already happened. I have been blessed to teach in the same classroom for the last decade. I've taught mostly 6th grade Language Arts and Social Studies, but I've also taught 7th grade Language Arts and Social Studies, Video Production, and Associated Student Body government.
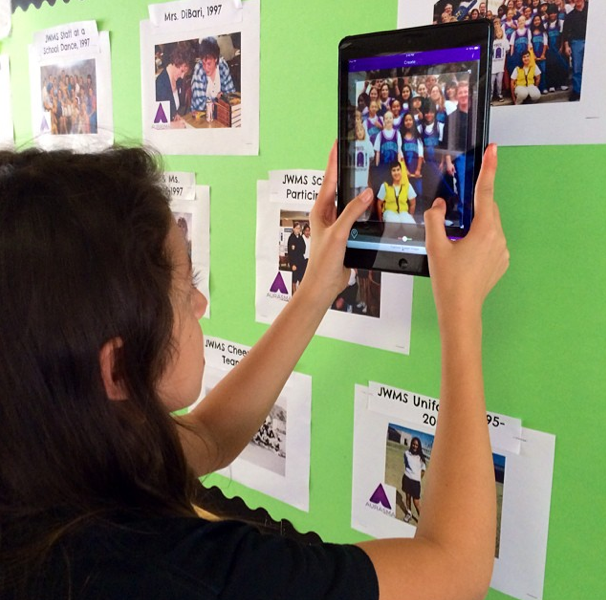
This is the first year that I have felt like a veteran teacher. Maybe it's because we've had an influx of first and second year teachers, or maybe it's that I am no longer quite as peppy as I used to be if I don't get a full seven hours of sleep at night. Probably, it's the fact that my school is celebrating it's 20th anniversary this year. I guess it's hard not to feel at least a little older when you realize you've been around for half the life of an established school. My leadership class wanted to do something special to recognize our school's 20th year, so we decided to create a living history wall. The original idea was to collect photos from staff and past yearbooks, then create a bulletin board in the hallway to display them. Another group of my leadership students decided to work on a documentary film about our school's history and interview staff members who opened the school. When they started looking at footage of the interviews, one of my students said, "Wow. I wish we could share some of these clips with the school. Our movie is going to take a while to finish, but it would be cool to just show people the best of what we have." And just like when Marty McFly realizes that time travel really is possible thanks to Doc Brown's DeLorean, my students were super excited when I suggested the concept of augmented reality. If you're unfamiliar with augmented reality, the concept is similar to using QR codes. In both methods, additional content is activated by scanning an image of some kind. In QR, the trigger image is the square code itself. In augmented reality, the trigger image can be anything from a math problem on a page, to a building on your school campus, or a poster hanging on the wall. Not Yo' Mama's Yearbook Photo Experience
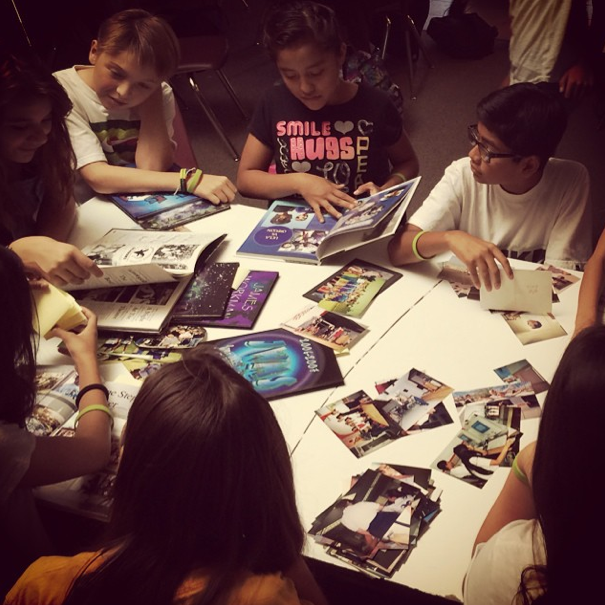
Students began to create their living history wall by requesting yearbooks and photos from staff and administration. They had a blast digging through the images, marking their favorites with sticky notes. Eventually, students narrowed the many photos down to a little over twenty based on the following criteria:
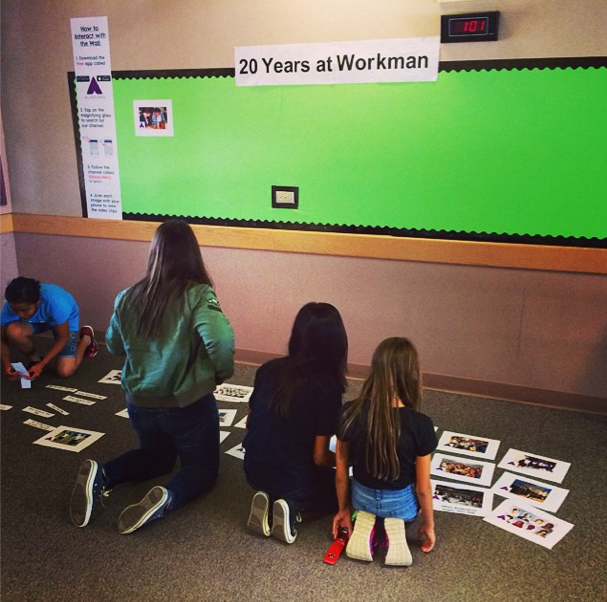
Next, students previewed a ton of documentary footage to match various video clips to images. In some cases, students found perfect clips from the staff interviews they had already shot for the documentary. However, students felt that some of the pictures needed a specialized script, so they wrote and recorded some of their own video commentary, too. While the videos were being filmed and edited, another group of students worked on laying out and stapling up the wall itself.
Since augmented reality is a new idea on campus, students also posted directions next to the wall to help users access all of the content.
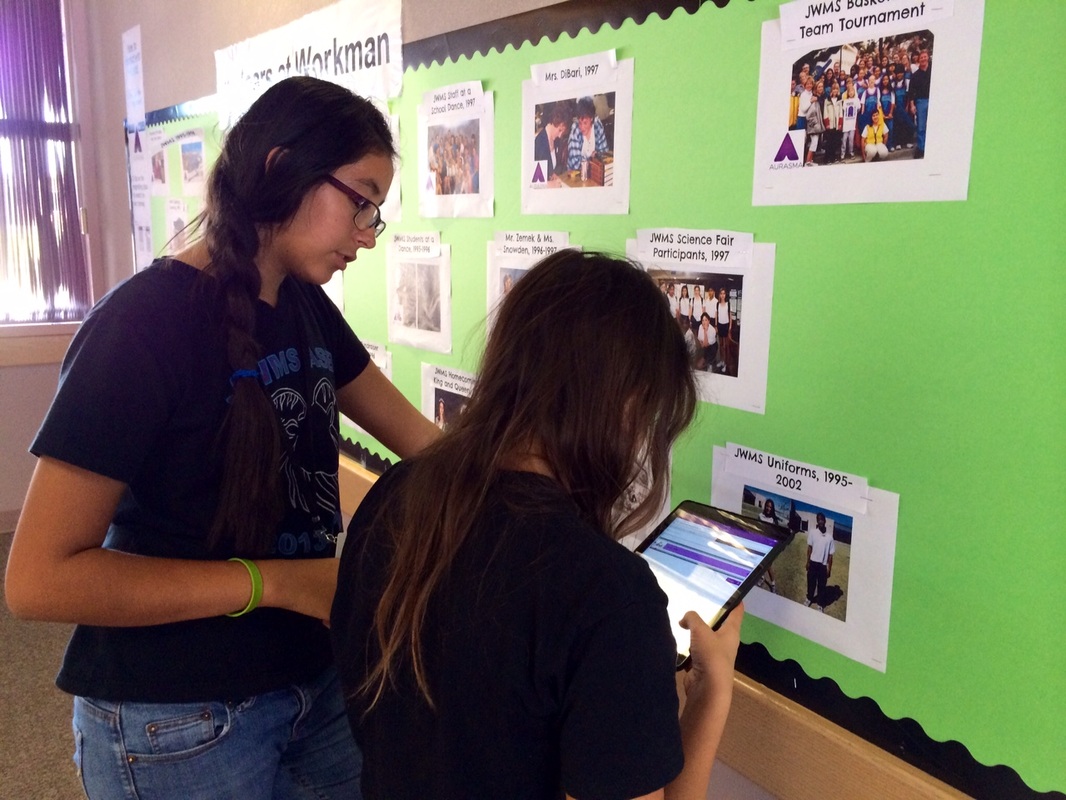
The "20 Years of Workman" wall debuted during Parent Conferences. In preparation, ASB students filmed several video tutorials that aired on our weekly school news episodes. Several students even took turns acting as docents with a few classroom iPads in order to demonstrate the wall to parents and allow families without smartphones to participate. Of course, the best part about this entire process was watching the pride students took in their finished product. In the weeks following conferences, I continue to see students interacting with the content of the wall before and after school. 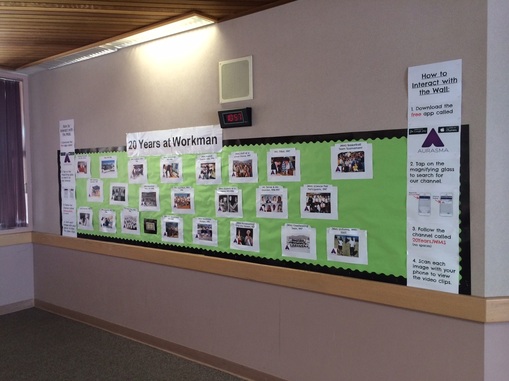
Want to give augmented reality a try? Check out the resources from the 2014 CUE Conference session delivered by John Stevens and myself:
1 Comment
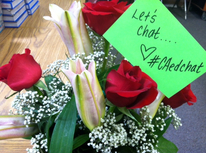 If you teach in California, maybe you've heard of a not-so-little Twitter chat we like to call #CAedchat. Moderated by nine diverse, passionate, dedicated educators from around the state, it is very exciting to be involved in the growth and development of something that connects educators from across the state every Sunday evening at 8pm Pacific. Last week's chat topic was about the importance of PLNs (Professional Learning Networks) and the necessity of sharing resources, ideas, etc. In light of that, I realized that several people have asked me about how I made the #CAedchat promotional video and I'm not sure a 140 character answer is sufficient. So, I've decided to write this post to help you (or your students) create a video in a similar style. In case you haven't seen it, here is the #CAedchat promo video: 1. Write My first step in creating this video was to write a script - which is also the first thing I have my students do when digital storytelling. I tried to highlight the main points I wanted to share about #CAedchat, it's development, and the important role we hope it will play in the professional lives of educators in California. Then, for each line of the script, I devised an activity that I wanted to be performing on camera at the exact moment each line was read. 2. Film All of this preparation was followed by filming. I decided to film using an iPad. Here's a snapshot of the set-up I used in order to be able to film myself with my iPad as well as be the one drawing/coloring/cutting, etc., in the video. By the way, this is also my "document camera" set up whenever needed. 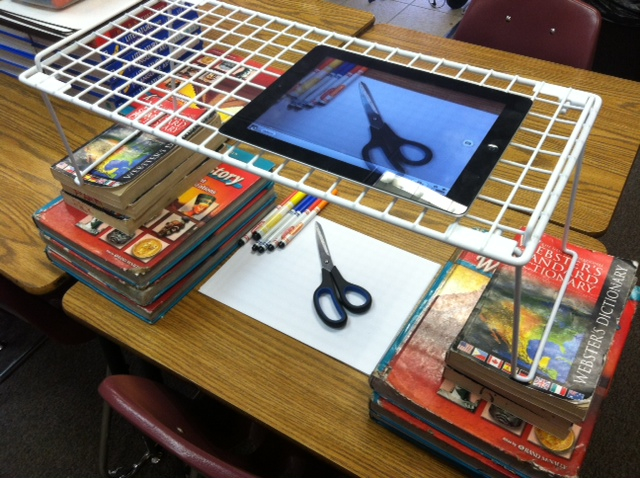 I knew that the nature of this project would involve speeding up the film at an insane rate, so I decided to film the outline of activities in one continuous shot. Positioning the outline next to my right hand, just out of range of the shot was a good call, because I could glance over periodically to ensure that I stayed on track.
3. Edit/Sound Creating the script and outline were one half of the battle, and filming was fairly easy. The real challenge came in post production. Using the iPad for editing was out of the question, since the iPad version of iMovie does not allow you the same versatility with visual effects that the full blown iMovie for iMac provides. After importing the video to iMovie, I quickly recorded the voice-over narration. At first, I attempted to simply speed up the entire video clip at the same rate so that it would last the same duration as the voice-over, but I soon realized that some tasks took longer to accomplish on camera than others, and that a blanket speed wouldn't work. (Otherwise, my outline of what to do as each line was read would be thrown out the window!) The strategy that ended up working best for me was to split the continuous clip into smaller pieces so that I could tailor the speed of each individual activity to match the rate of my voice as I read the script. 4. Share When all was said and done, I exported the finished file in HD and uploaded it to my Vimeo Plus account, then started tweeting like crazy. Making the #CAedchat video was a ton of fun and it's been pretty gratifying to see people share the video on Twitter as a way to promote our state's chat. Bottom line: I never would have thought to make a video like this, if it weren't for such an amazing purpose. I have loved co-moderating #CAedchat and hope that -whether you live in California or not- you'll think about joining us soon on Sunday evening at 8pm Pacific. In the meantime, maybe you'll try out this method of movie-making with your students? If you do, please share a link in the comments below! I'd love to see what your students come up with. |
Author: Jessica PackCalifornia Teacher of the Year. CUE Outstanding Educator 2015. DIGICOM Learning Teacher Consultant. 6th Grade Teacher. Passionate about gamification, Minecraft, digital story-telling, and fostering student voices. 
Download:Archives
June 2020
Categories
All
|
 RSS Feed